
Navigation: Android basics out of the box
By Danny Silva // January 24, 2013
Lets look at your screen now to learn how to navigate in your Android tablet. You have three areas that we will talk about: the top, the middle and the bottom.

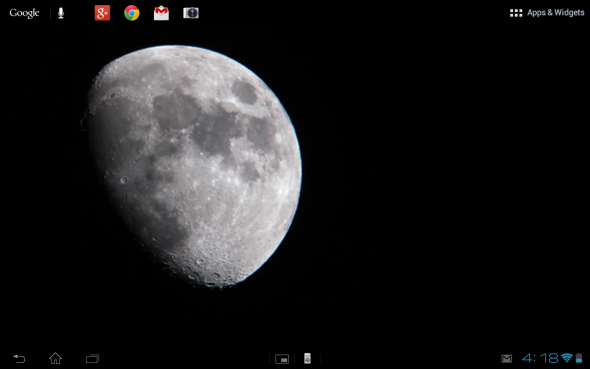
The top: This slim area houses three unique areas. To the left is the word “Google” and a Microphone. This is for quick access to search. 
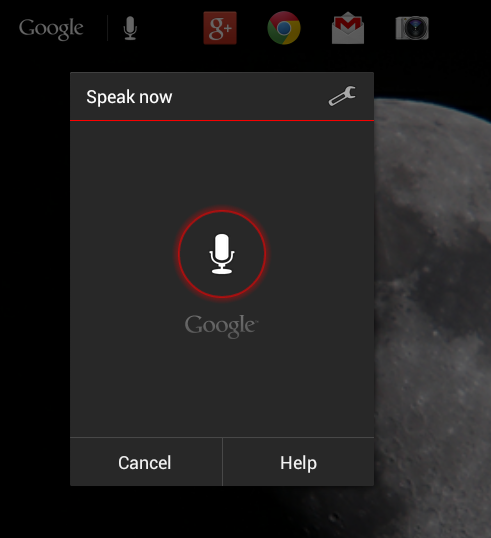
Touching Google will bring up the keyboard and touching the microphone will allow you to do a voice search.Just to the right will be an area that you can drag apps. These apps will always be visible to you no matter which homescreen you are on, kind of like a dock. To the far right are the words “Apps & Widgets” and an icon that has six little boxes. By touching here you can access all of, you guessed it, Apps and Widgets.

The middle: This area is for your five homescreens. You can swipe left and right to view all the real estate that is yours to customize. The center homescreen is your main homescreen (tip: press and hold on any open area on a homescreen to quickly access the wallpaper menu to start customizing your device).

The bottom: This other slim area houses three more unique areas. To the left are the main navigation buttons. 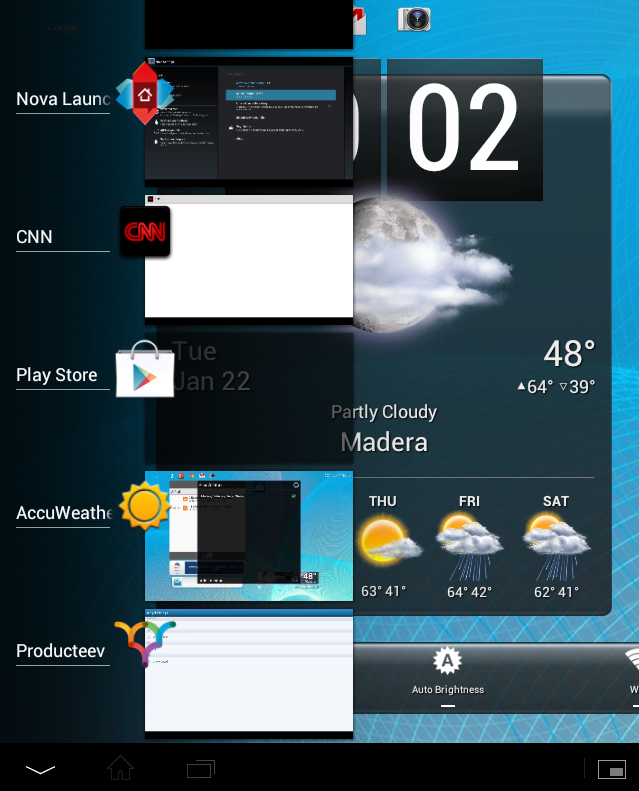 The “arrow” is a back button. This can vary depending on application or what you are doing, but it typically means to go back a step. The “house” is your home button. One click will take you out of any application and back to the homescreen. Touching it a second time will jump you to your main home screen. The stacked rectangles will give you access to running apps. You can swipe up or down to access all of the running apps. To remove and stop an app, just swipe to the right or left. The area in the center is home to a quick app menu of small apps and the remote (you will need to set up your remote before it will function properly).
To the far right is the status area. Here you will see notification icons, the time, the SSID you are connected to, the WiFi signal strength icon and your battery meter. 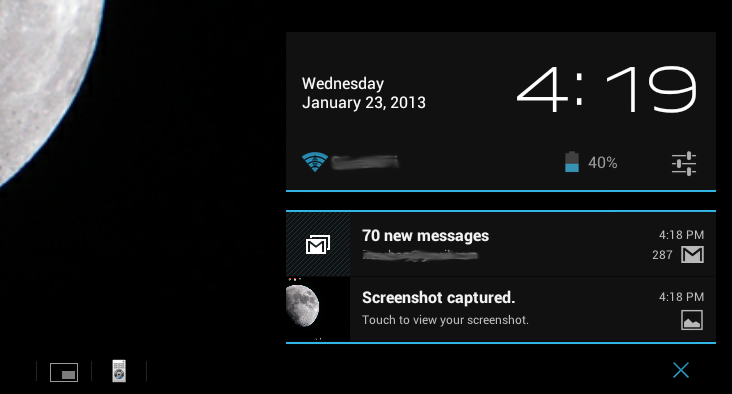 If you swipe up in this area you will be greeted by the notification area and at the top a larger display of time, date, WiFi, battery meter and percentage. There is also one additional icon that looks like three slides.
 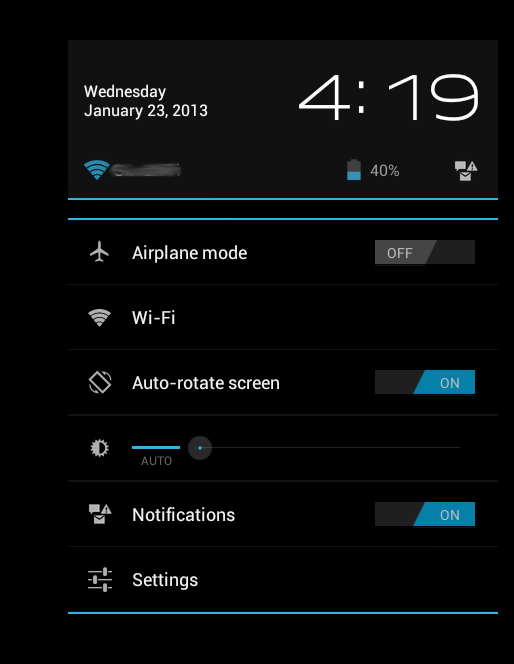 Touch this and you will be given access to some quick settings. At the bottom click on the three slides to quickly access all the device settings.
One of the first things I recommend setting up is device security. Here you can set up your screen lock and provide owner info. The owner info will be shown on the lock screen.
Check out the next post to start customizing your tablets homescreens.
Related Videos:
Sony's Education Ambassadors volunteer their time and knowledge to Sony in the pursuit of helping educators adapt to new technology in the classroom. Each SEA member was provided a Sony Xperia™ Tablet to evaluate, to help them better understand the device’s features.
About The Author
Danny Silva
Danny is formally an Agriculture Teacher, Technology Coordinator and Administrator. He is the Professional Development Coordinator for Computer-Using Educators, a Google Certified Teacher, a Google Apps Education Certified Trainer and a Microsoft Innovative Educator. He has led multiple Google Teacher Academies around the world as part of CUE's Lead Learner team and as the Director...
VIEW PROFILE